In today’s world, low-coding development platforms are used to develop software applications through graphical interfaces. Development is more accessible for users without technical knowledge any IT member can develop reliable, cross-platform application delivery. You can have a comparison with the RPA’s automatic Data Scraping process using UiPath.

Low-Code technologies are visual programming interfaces to develop web apps or mobile apps with minimal or no coding involved. It won’t be a risk for the developer instead, it will bring more people into the field of software development and help companies be more agile. We can take Microsoft Power Apps as an example of the low-code technology that has good benefits for both the Development & Business side.
By automating business processes, Power apps can help developers save time on tasks that would otherwise be repetitive. Using Microsoft PowerApps development services, developers can build apps more quickly and with less complexity than traditionally.
Let us try Power Apps for ourselves and see an example of mobile application development using a low-code platform called PowerApps by Microsoft.
About Power Apps
Power Apps is a data platform that provides to build a custom application for business needs. Using Power Apps custom applications we connect to our data such as Sharepoint, Microsoft 365, Dynamics 365 and SQL Server, etc.
Let us try out the platform where we are going to create a simple mobile application with a login page and list the cities with a number of Software Development companies in Tamilnadu.
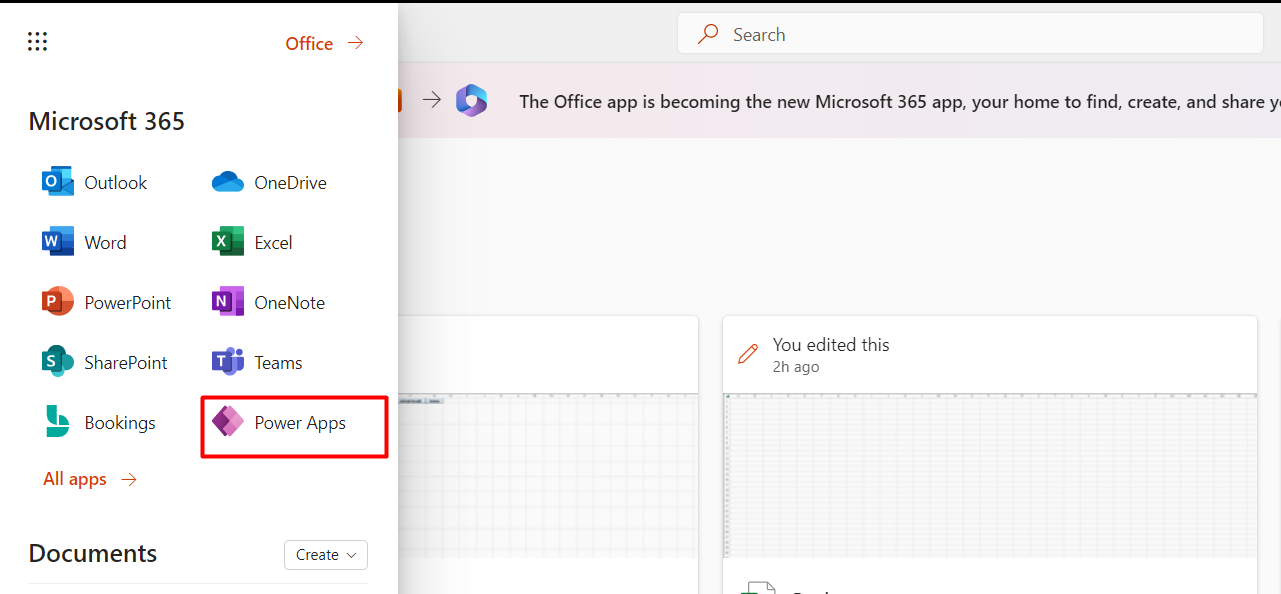
Step 1: Open Microsoft 365 from your computer and click All Apps Power Apps will display, click on the Power Apps.
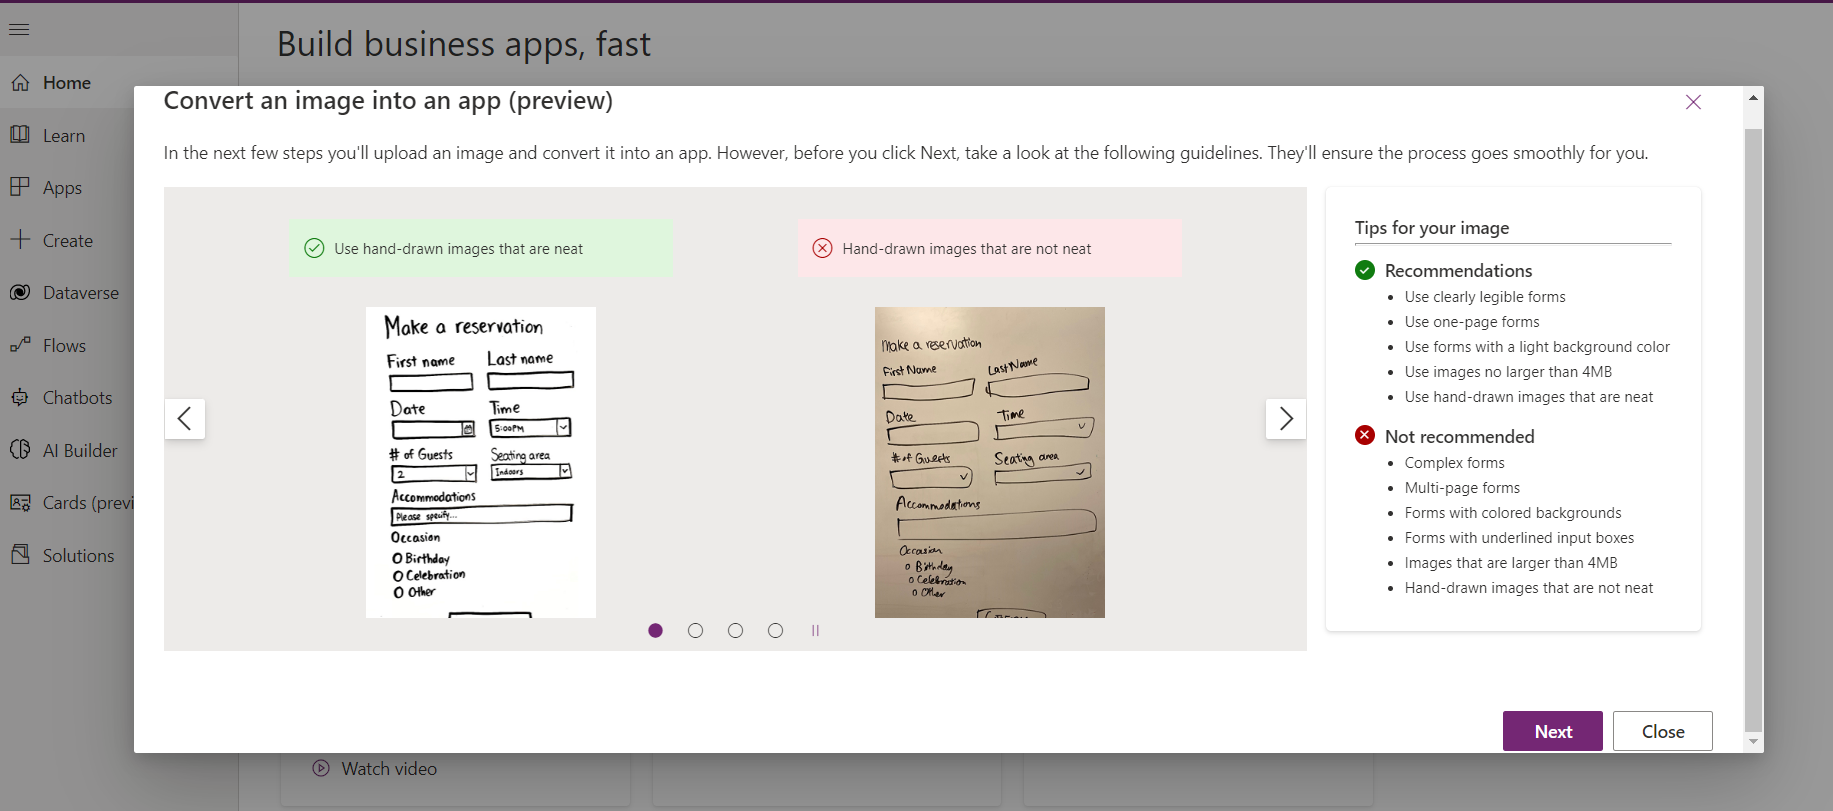
Step 2: After clicking on Power Apps, a new window will show options for creating a Blank app and selecting the Blank canvas app. Here we used the Convert an image into an app option.
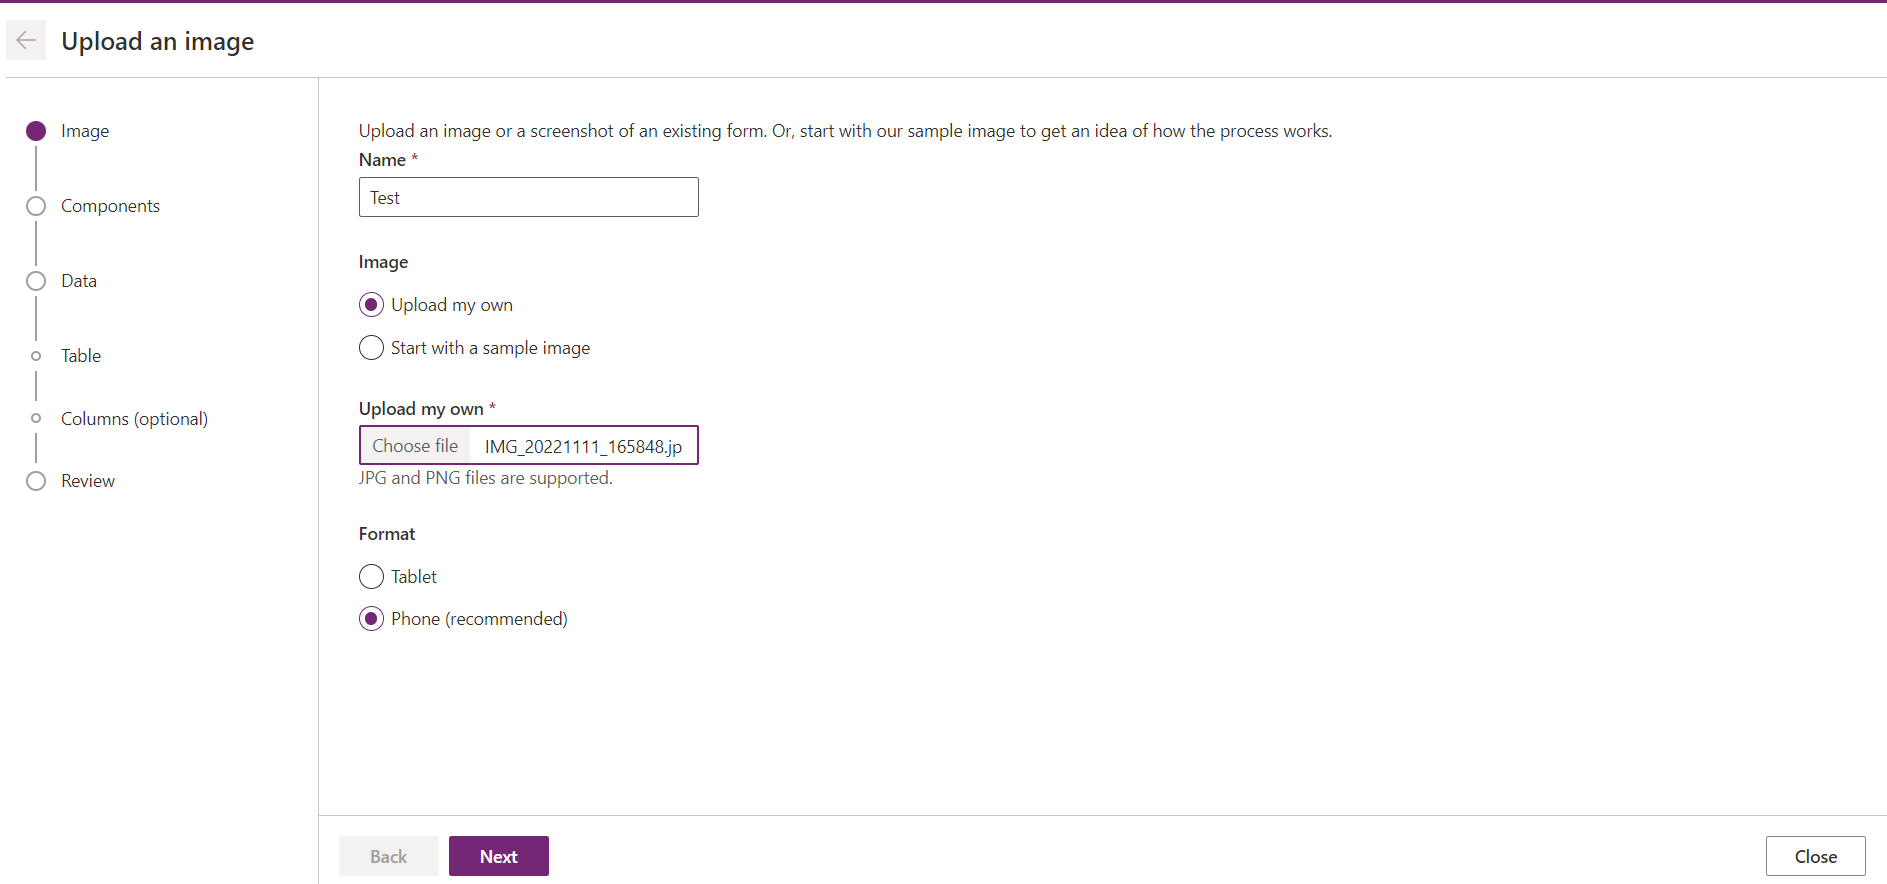
Step 3: After clicking Next in the pop-up, you would Enter the app name, Upload the image, and choose the format for the application.
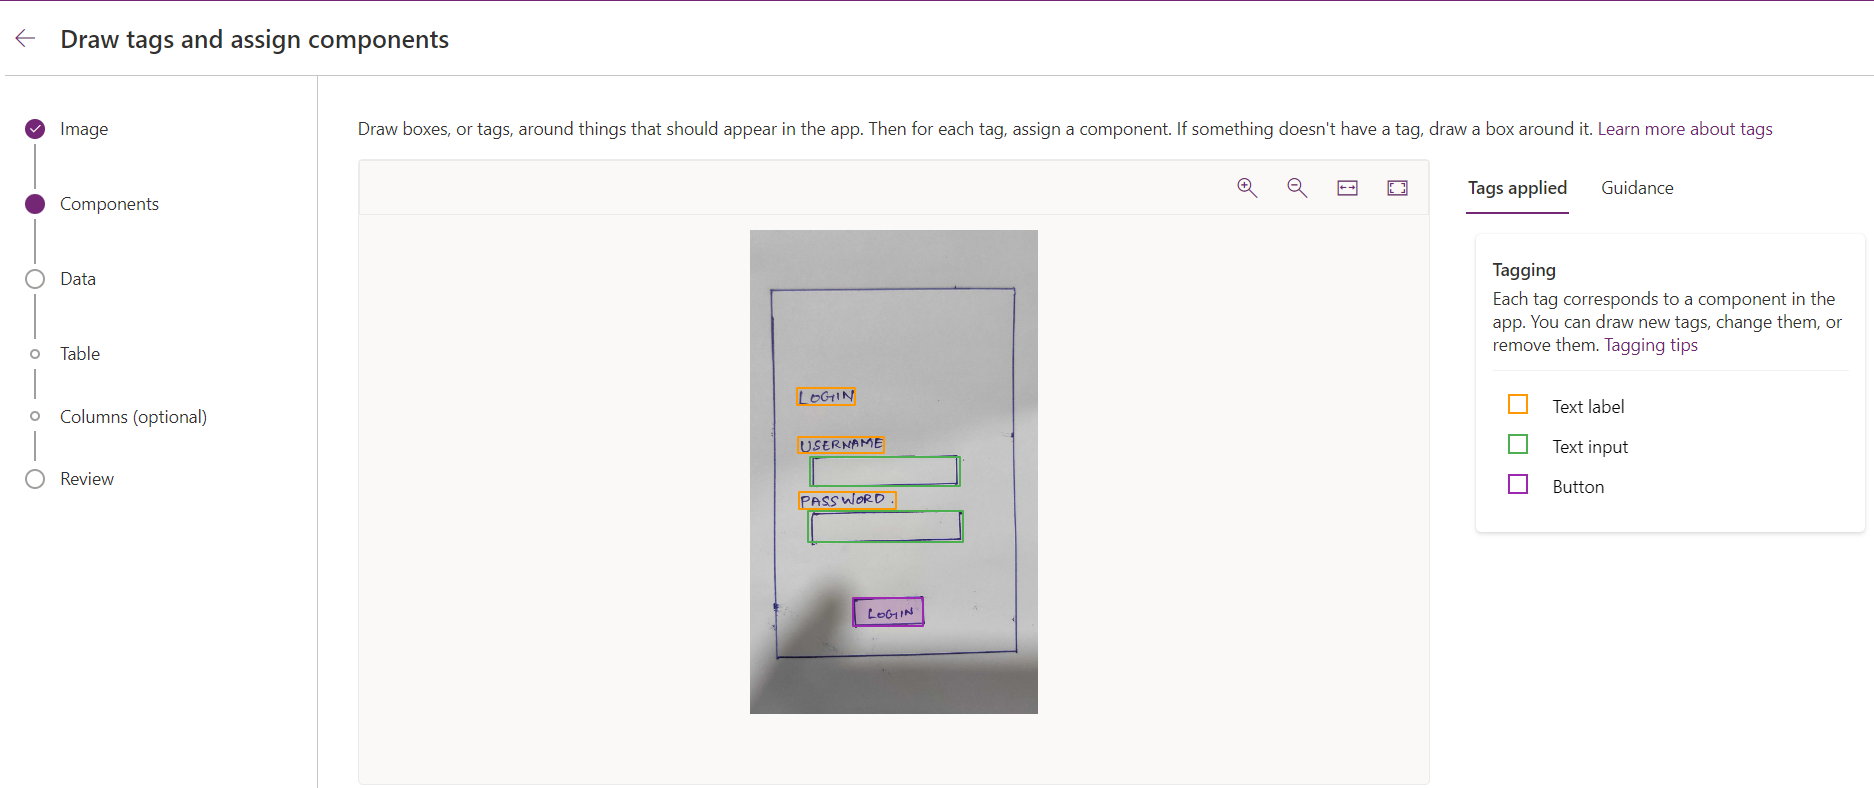
Step 4: Image text will be highlighted and text will show as components on the right side of the window.
Step 5: After clicking next on the Data page click Create. The app page will show with components.
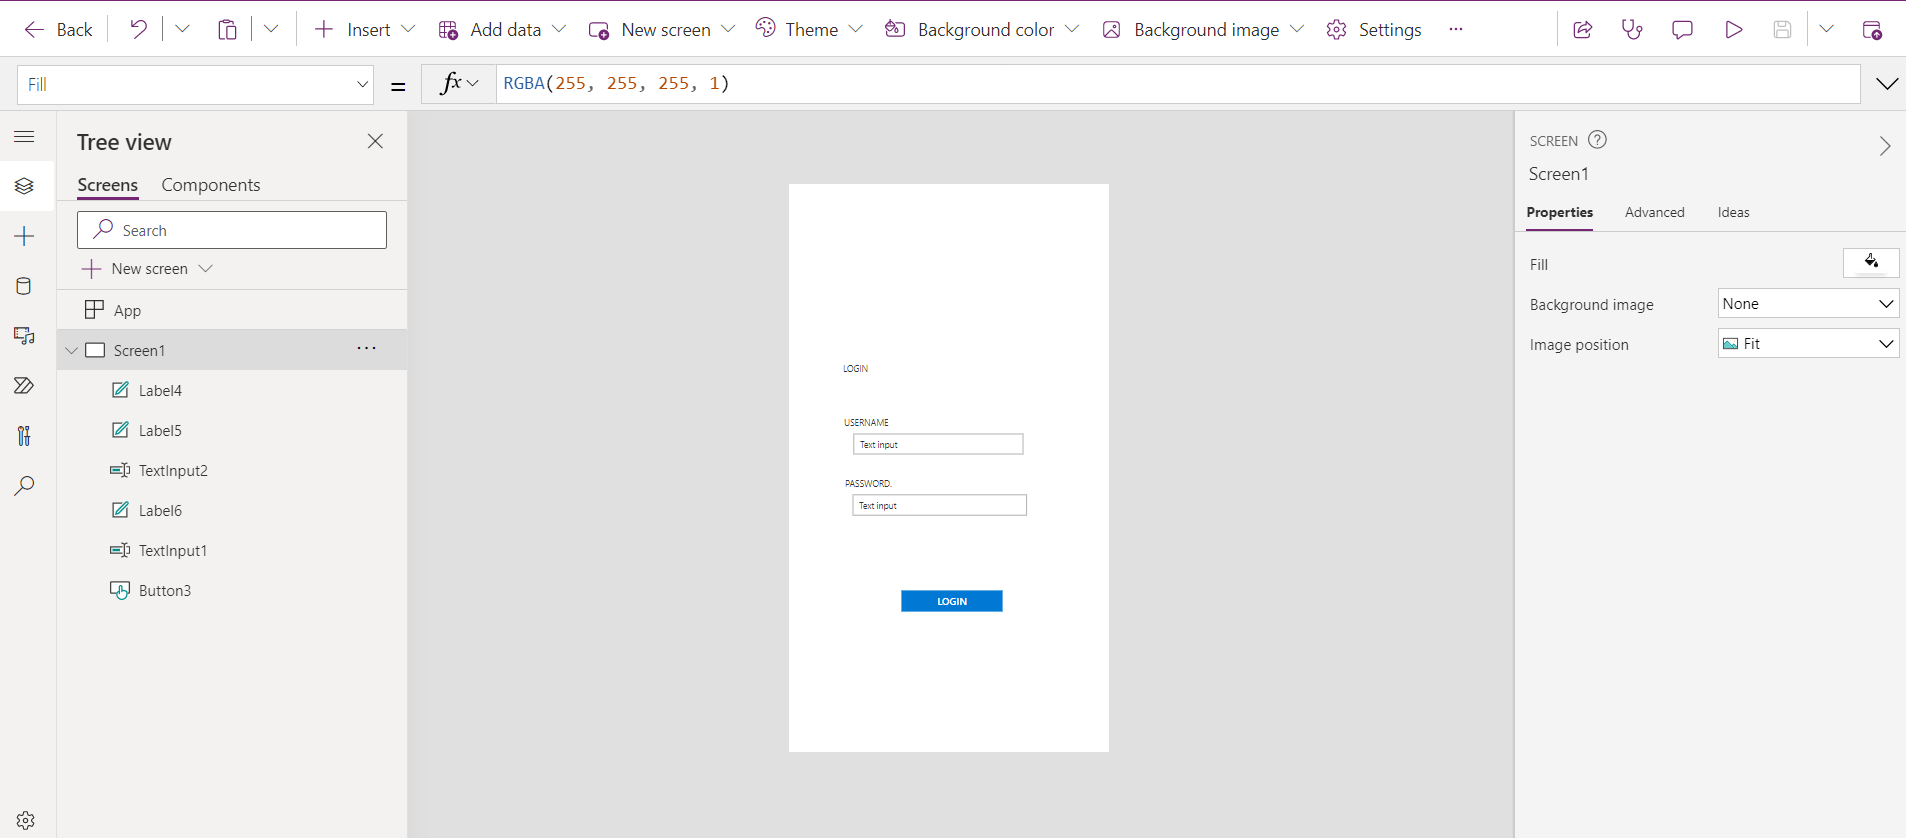
Step 6: By clicking on Label, Textinput on the left side component will get highlighted. Based on the component on the right side we can able to edit the font, size, alignment, height, etc.
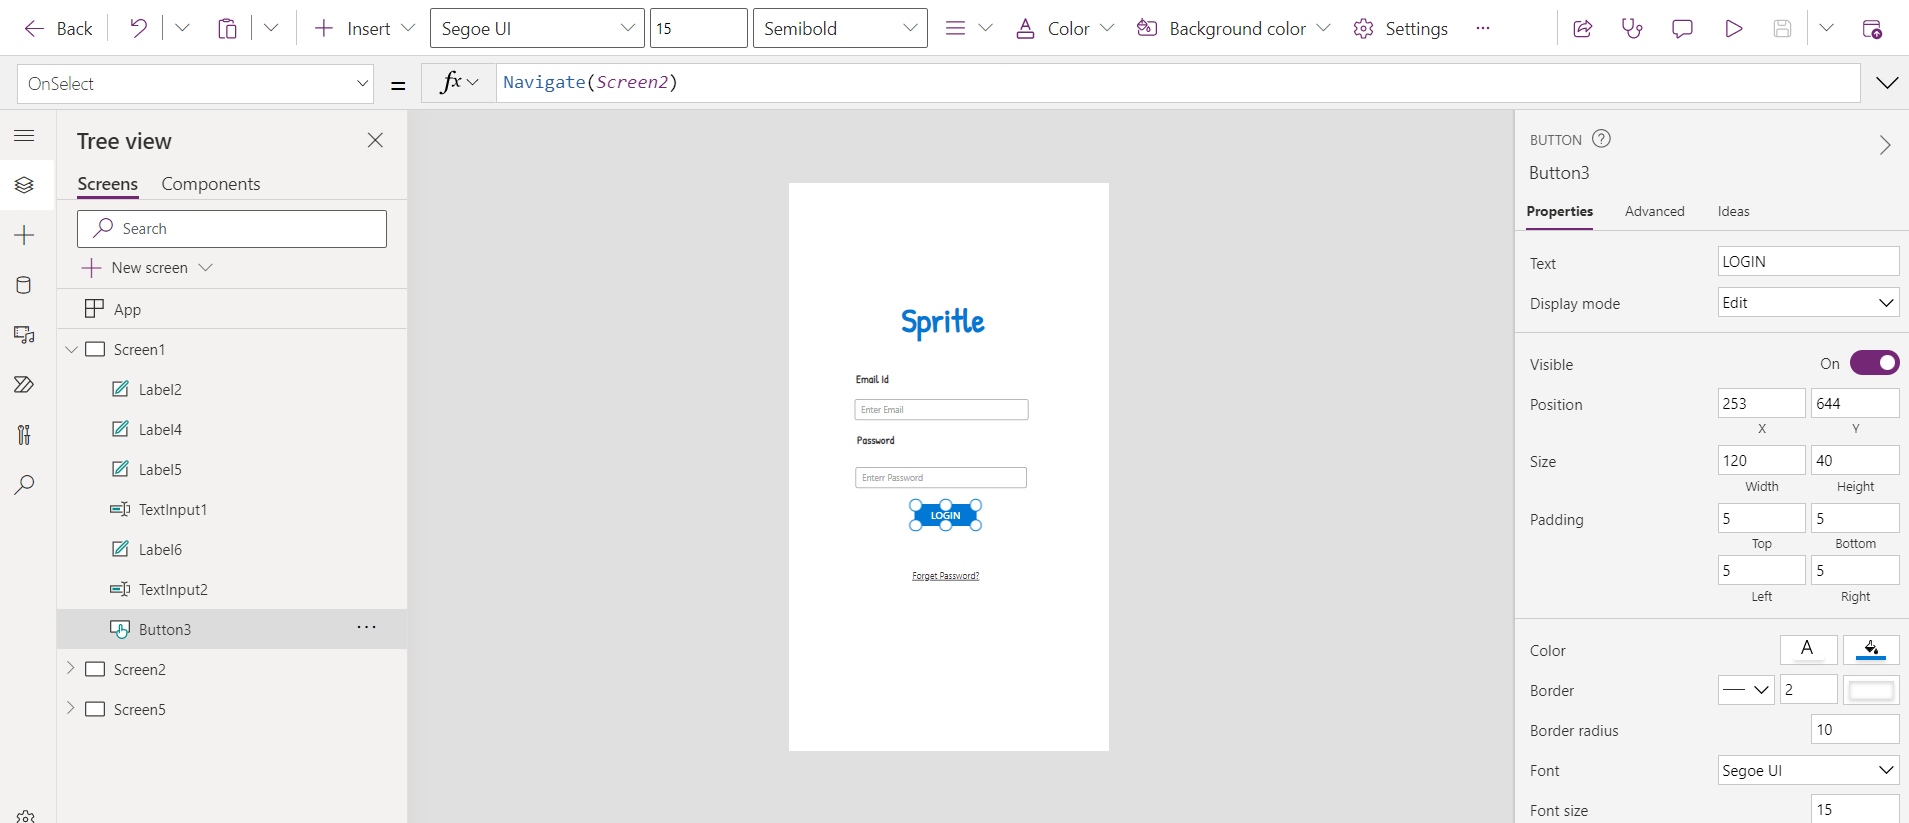
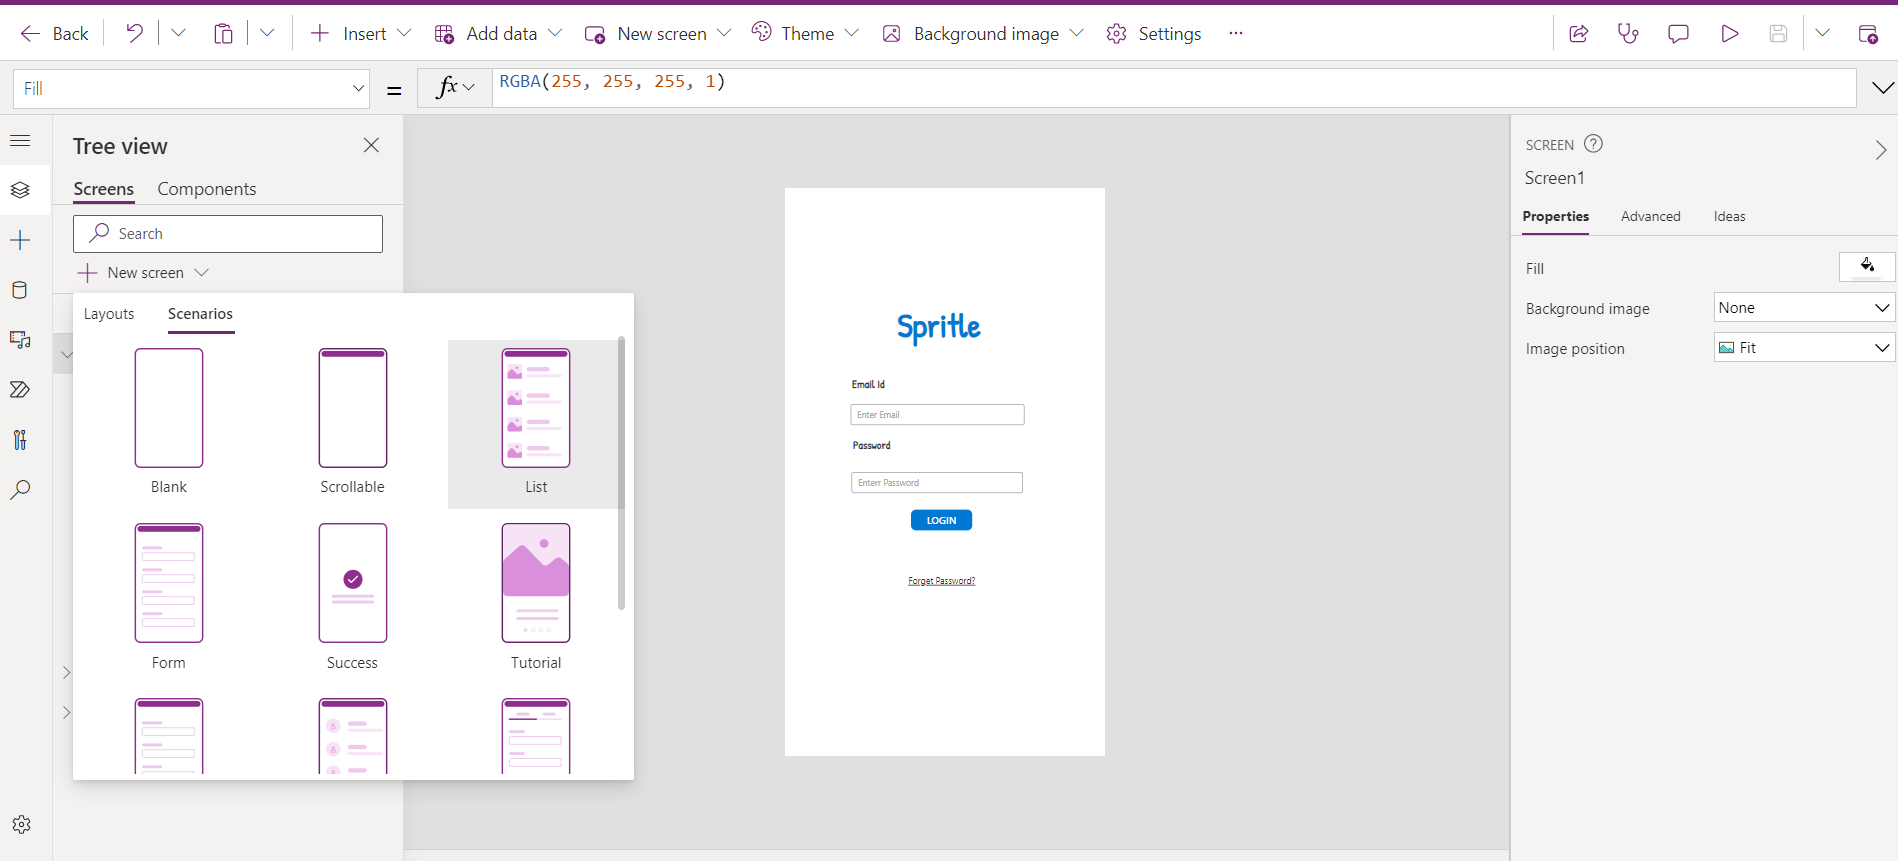
Step 7: To enable the button functionality for navigating to the next screen -> Select the button on the top and enter the function manually as Navigate (screen name).
(Before entering the screen name create a new screen using the left menu option)
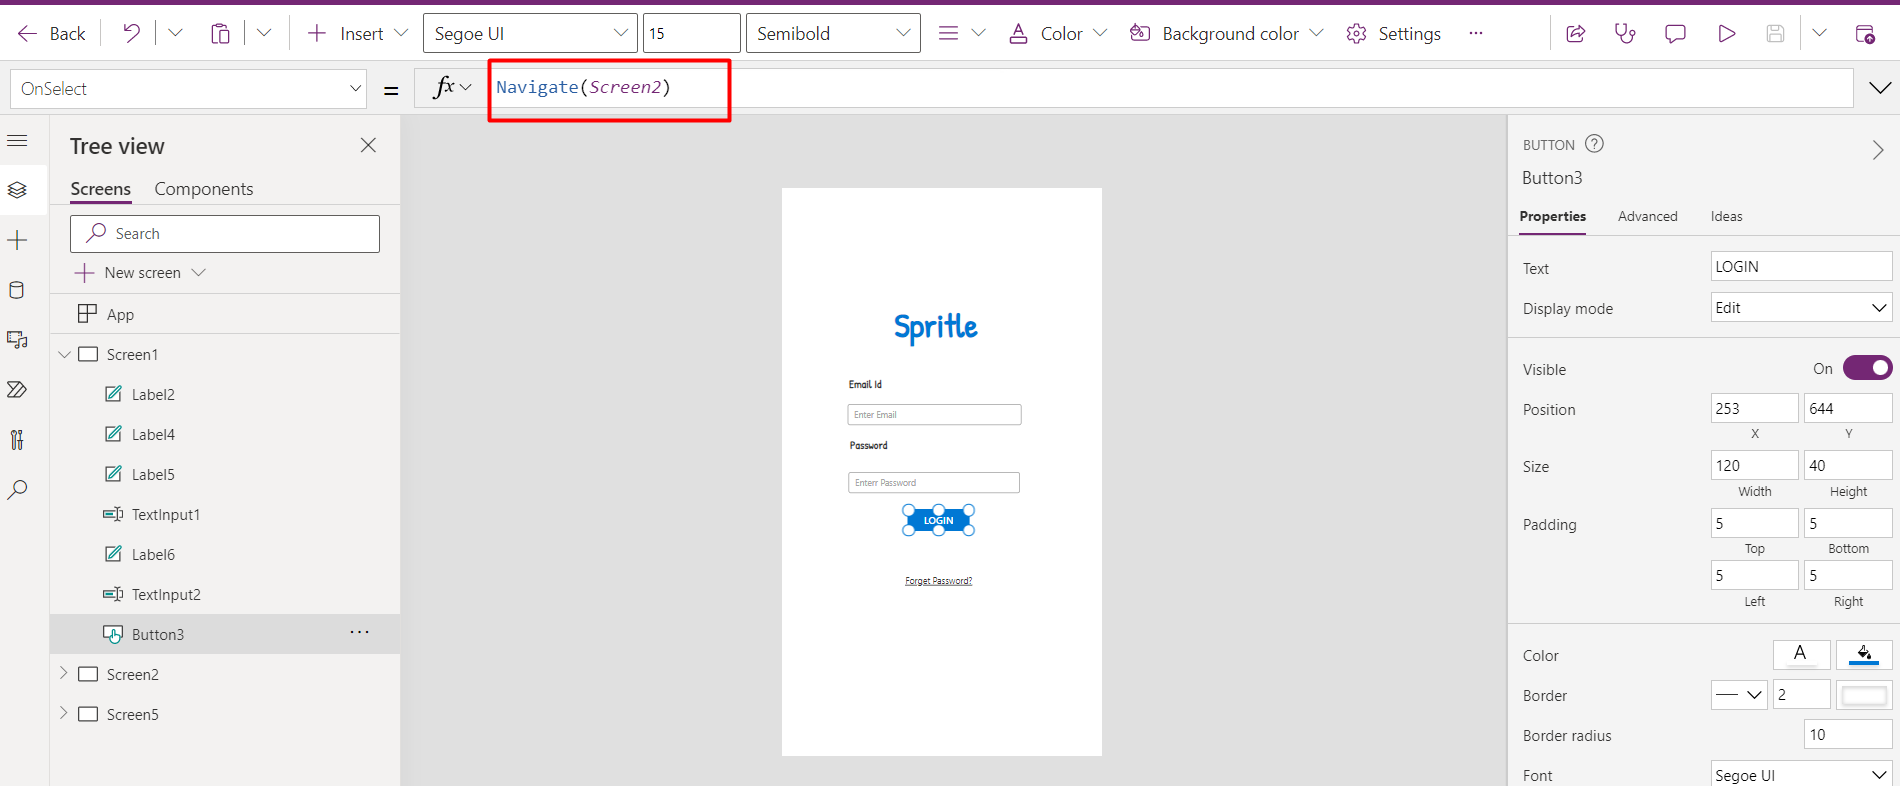
Step 8: For adding the new scenarios on the new screen -> Click New Screen on the left menu -> Click Scenarios and choose list scenario for importing data from Excel.
Step 9: After adding the List scenario to the screen, click on the list and add a data source using Excel.
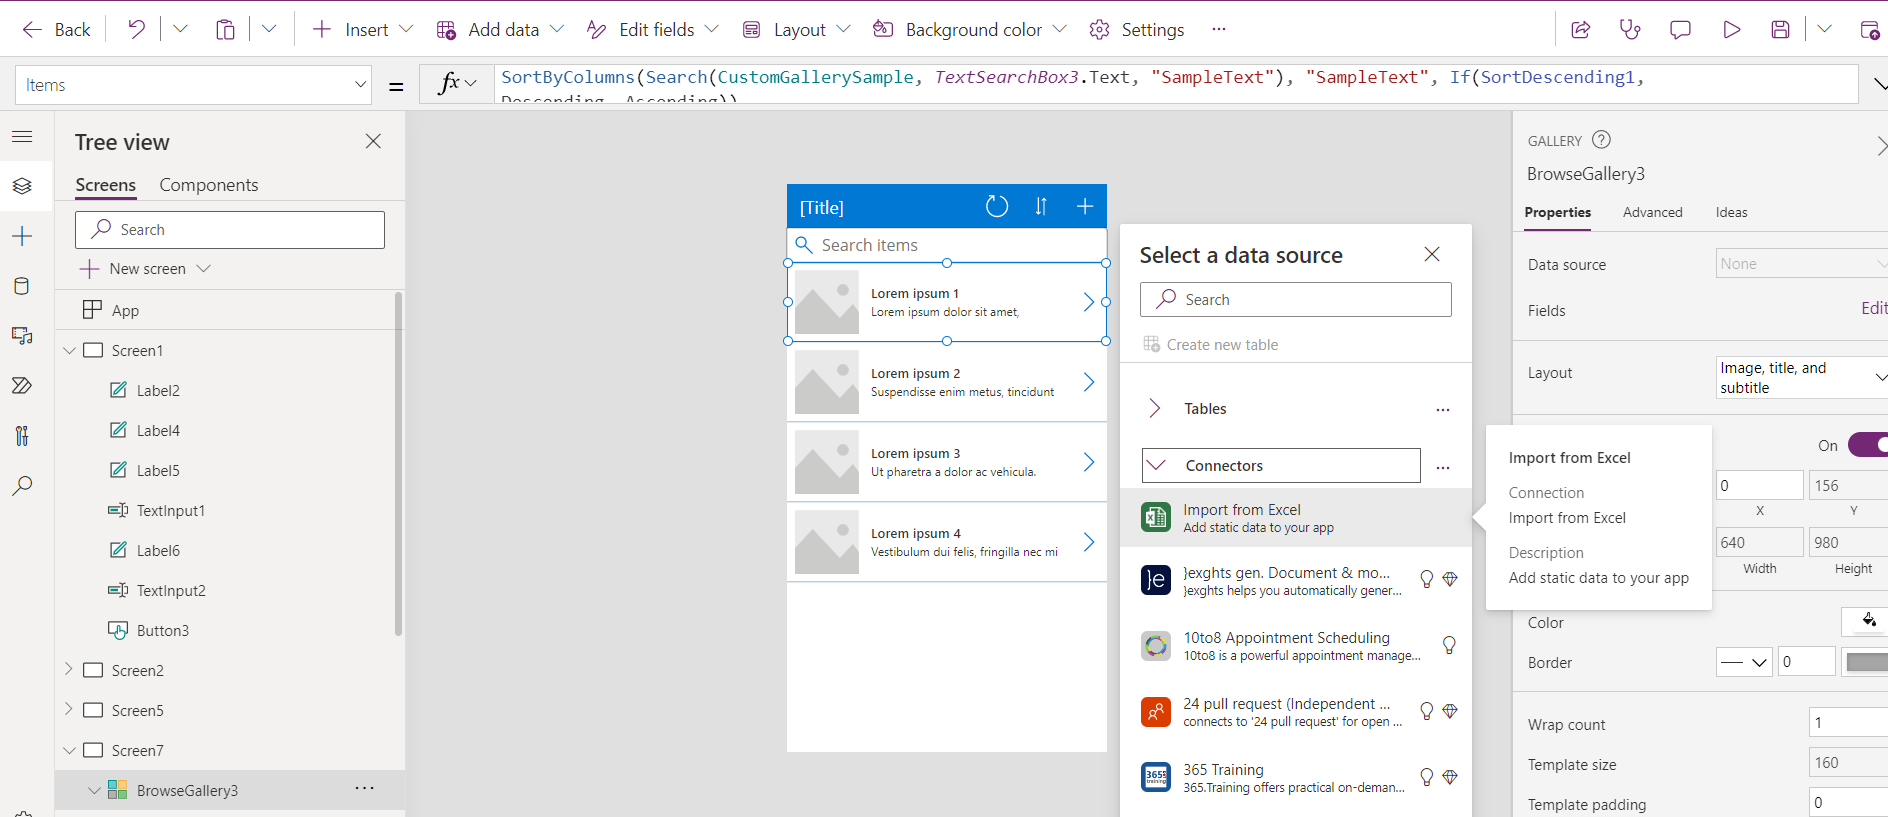
Step 10: Once data gets imported from Excel, the list will be displayed on the screen as shown in the below image.
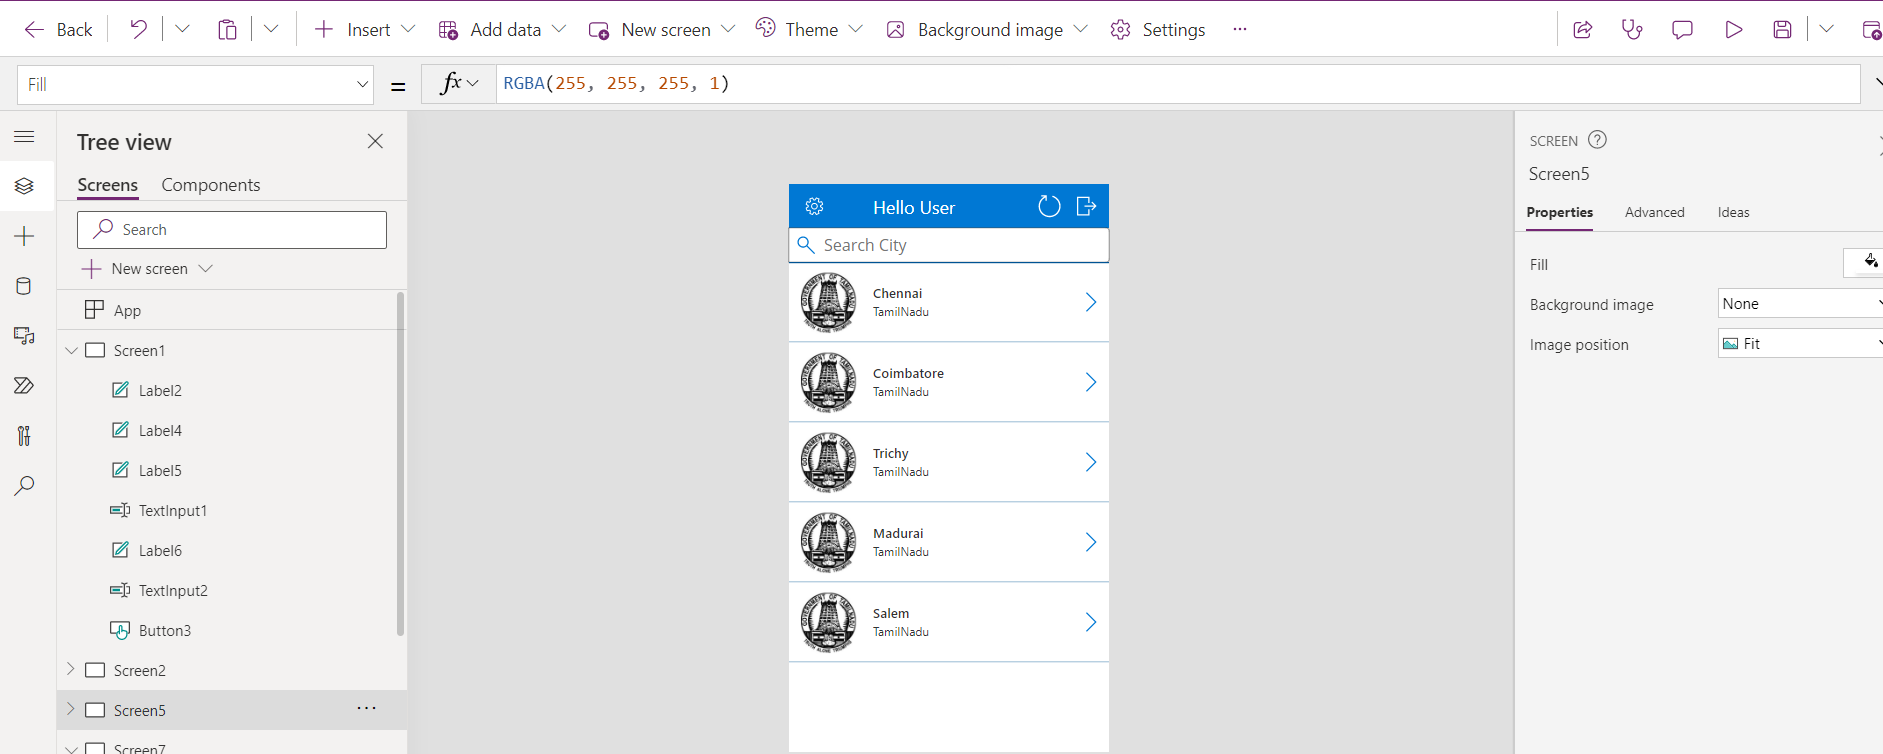
Choose App from Screen1 and click on the Preview (play button) option on the top right to test the functionality of the application.
And there you go! You have your mobile application ready within a few clicks and types.
In this blog, we learned how to create a sample application using Image upload with Excel Data. There are multiple other functionalities available on the Power Apps that you can use and try out.
