Mobile DevOps — Part 1
Automate the distribution of React Native Apps via Firebase with GitHub Actions.
Building React Native apps are a fantastic thing. I’ve been developing react native apps for a year now, and one of the most frequent and time-consuming activities is sending a new version of the app to our testers.
After spending a lot of time taking a build and waiting for the IPA or APK/ABB to be generated for iOS or Android, you must manually distribute the app to the tester using Firebase.
A strong automated approach for creating and distributing new versions will enable you to release the app more regularly, simplify the procedure for receiving tester feedback, and save up a ton of time for other activities.
In this blog, let us look into the demonstration of how to create an Android application and distribute it using the Firebase platform using GitHub actions.
Now let’s get started!
What are GitHub Actions?
GitHub Actions is a Continuous Integration and Continuous Delivery (CI/CD) platform that allows you to automate your build, test, and deployment pipeline. You can create workflows that build and test every pull request to your repository or deploy merged pull requests to production.
Why do we use GitHub Actions?
To create React Native apps, we use GitHub action for the following reasons.
1. Our project’s code is primarily stored on Github. Since we don’t need to configure any integrations, having the build in the same location makes the process simple.
2. GitHub is a fantastic place to start with CI/CD.
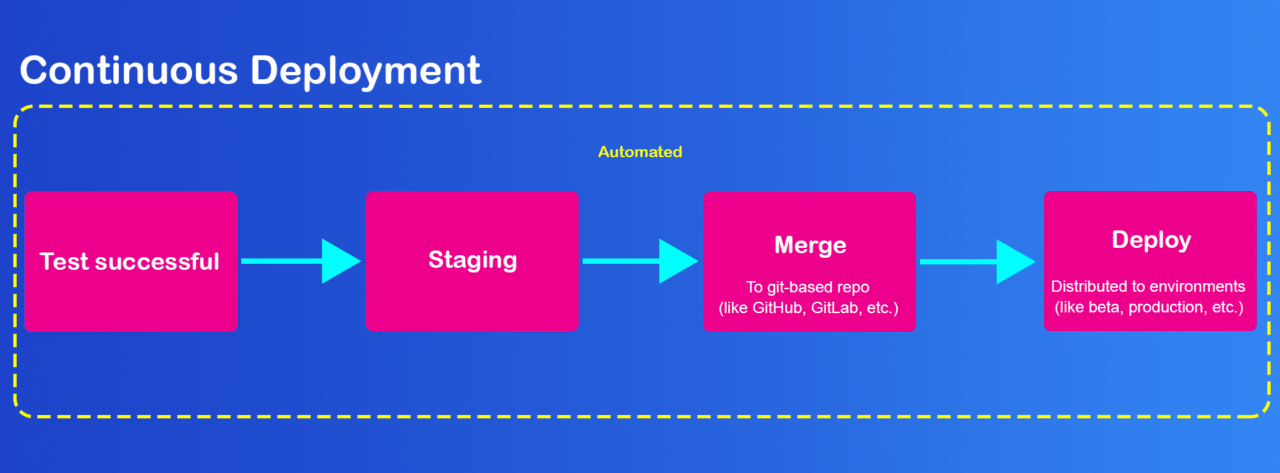
Before starting the build process, I would highly recommend going through the Android building process in React Native Apps.
Build the APK
To avoid having to debug problems on the CI, it is advised to run the build scripts on your device before beginning to work on the build procedure.
Run the following command to generate the APK
cd android && ./gradlew assembleReleaseRun the following command to generate Abb which is a bundle release.
cd android && ./gradlew bundleReleaseThe two scripts must be executed properly. If not, make sure to address any problems before continuing.
Use keytool to create your private signing key.
keytool -genkeypair -v -storetype PKCS12 -keystore your.keystore -alias your_alias -keyalg RSA -keysize 2048 -validity 10000You are prompted for the passwords for the Keystore, Key, and Distinguished Name fields for your key when you run the above command. The Keystore is then created as a file with the name “your. Keystore”.
We will need the Keystore and passwords later, so keep them secure.
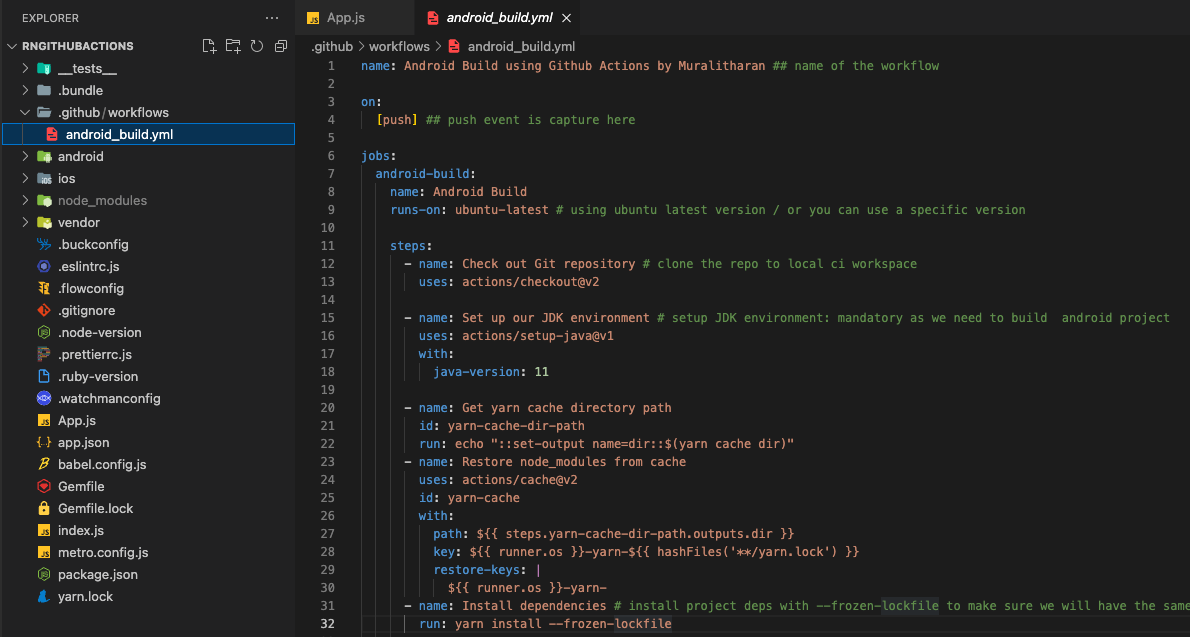
Nextly, create a .github/workflows directory at the root of the directory and then create an android_build.yml file there.
YAML is a digestible data serialization language often used to create configuration files with any programming language. Designed for human interaction, YAML is a strict superset of JSON, another data serialization language. But because it’s a strict superset, it can do everything that JSON can and more.
name: Android Build using Github Actions by Muralitharan ## name of the workflow

on:
  [push] ## push event is capture here

jobs:
  android-build:
    name: Android Build
    runs-on: ubuntu-latest # using ubuntu latest version / or you can use a specific version

    steps:
      - name: Check out Git repository # clone the repo to local ci workspace
        uses: actions/checkout@v2

      - name: Set up our JDK environment # setup JDK environment: mandatory as we need to build  android project
        uses: actions/setup-java@v1
        with:
          java-version: 11

      - name: Get yarn cache directory path
        id: yarn-cache-dir-path
        run: echo "::set-output name=dir::$(yarn cache dir)"
      - name: Restore node_modules from cache
        uses: actions/cache@v2
        id: yarn-cache
        with:
          path: ${{ steps.yarn-cache-dir-path.outputs.dir }}
          key: ${{ runner.os }}-yarn-${{ hashFiles('**/yarn.lock') }}
          restore-keys: |
            ${{ runner.os }}-yarn-
      - name: Install dependencies # install project deps with --frozen-lockfile to make sure we will have the same packages version ( very recommended  on running yarn install on ci)
        run: yarn install --frozen-lockfile

      ## configure cash for gradle : will help to reduce build time
      - name: Cache Gradle Wrapper
        uses: actions/cache@v2
        with:
          path: ~/.gradle/wrapper
          key: ${{ runner.os }}-gradle-wrapper-${{ hashFiles('gradle/wrapper/gradle-wrapper.properties') }}

      - name: Cache Gradle Dependencies
        uses: actions/cache@v2
        with:
          path: ~/.gradle/caches
          key: ${{ runner.os }}-gradle-caches-${{ hashFiles('gradle/wrapper/gradle-wrapper.properties') }}
          restore-keys: |
            ${{ runner.os }}-gradle-caches-
      - name: Make Gradlew Executable
        run: cd android && chmod +x ./gradlew

      - name: Generate App APK
        run: |
          cd android && ./gradlew assembleRelease --no-daemon
      ## sign generated apk
      - name: Sign APK
        id: sign_app
        uses: r0adkll/sign-android-release@v1
        with:
          releaseDirectory: android/app/build/outputs/apk/release
          signingKeyBase64: ${{ secrets.ANDROID_SIGNING_KEY }}
          alias: ${{ secrets.ANDROID_ALIAS }}
          keyStorePassword: ${{ secrets.ANDROID_KEY_STORE_PASSWORD }}
          keyPassword: ${{ secrets.ANDROID_KEY_PASSWORD }}

      # ## Distribute app to Firebase App Distribution for testing / use google play internal track if you have a google play account
      - name: upload artifact to Firebase App Distribution
        uses: wzieba/Firebase-Distribution-Github-Action@v1
        with:
          appId: ${{secrets.ANDROID_FIREBASE_APP_ID}}
          token: ${{secrets.ANDROID_FIREBASE_TOKEN}}
          groups: testers
          file: ${{steps.sign_app.outputs.signedReleaseFile}}
As you can see from the above snippet, there are three main aspects of the workflow.
- name — the name of the workflow
- on — where the event is recorded by GitHub. The example shown here: A push event with a GitHub workflow running on it.
- jobs — where we outline the workflow specifications, including the build’s name, machine, and all other things.
Configuration Signature in GitHub Secrets
Using the private signing keys we generated in the prior step, we will use r0adkll/sign-android-release@v1 to sign the android APK.
The environment variables that must be supplied as Github secrets are listed below:
- ANDROID_SIGNING_KEY — The base64 encoded signing key is used to sign your app.
On your machines, you can create your key by using this command. Run this command at /android/app/
openssl base64 < your.keystore | tr -d '\n' | tee your.keystore.base64.txt- ANDROID_ALIAS — The alias of your signing key.
- ANDROID_KEY_STORE_PASSWORD — Your signing password Keystore.
- ANDROID_KEY_PASSWORD — The private key password for your signing Keystore.
At GitHub, to access the new repository secret, go to the project’s Settings> Security> Secrets> Actions page.
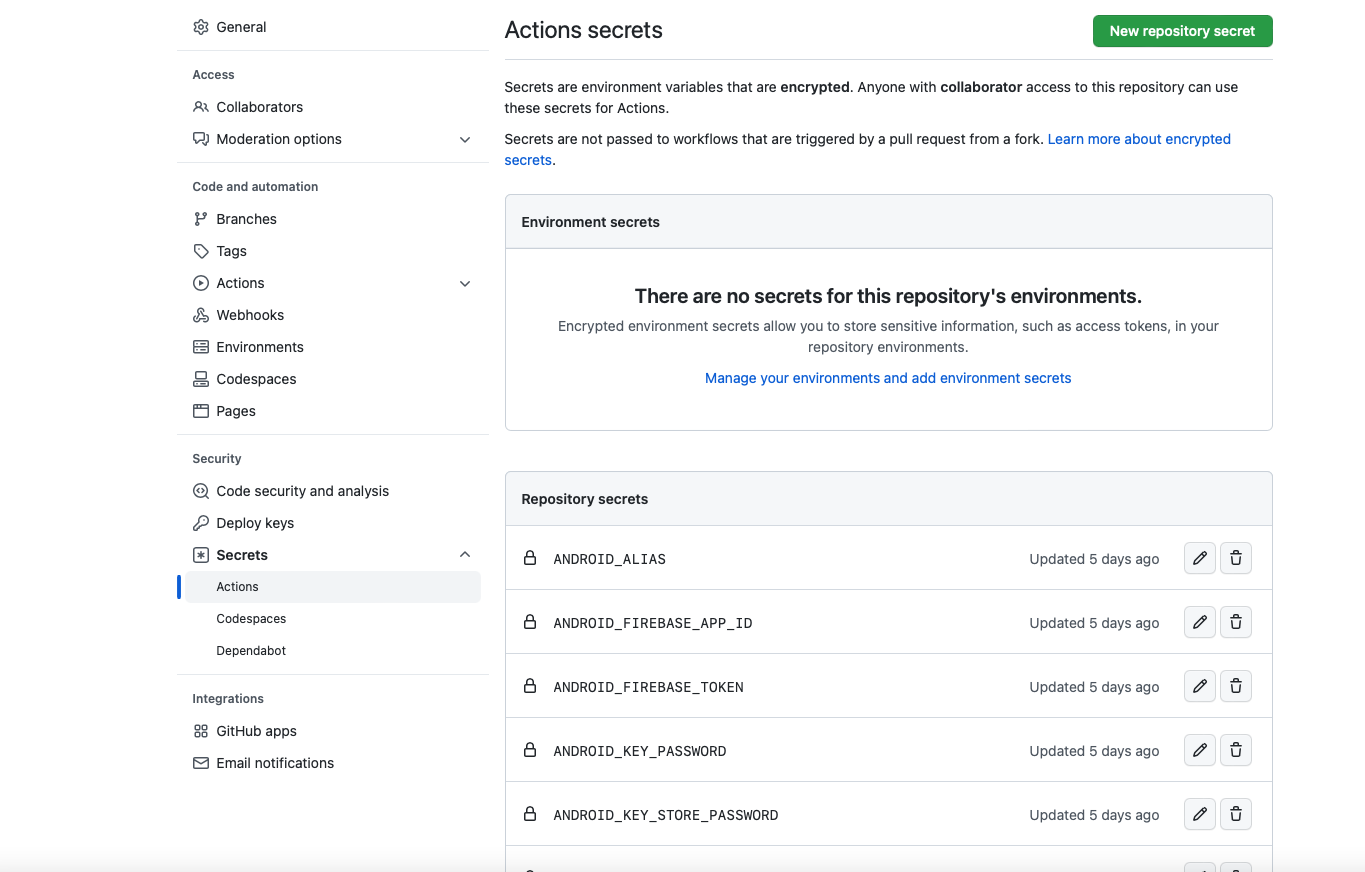
Add each secret to your GitHub secrets repository and that’s it.
Firebase Configuration and Distribution
Firebase App Distribution makes distributing your apps to trusted testers painless. By getting your apps onto testers’ devices quickly, you can get feedback early and often. And if you use Crashlytics in your apps, you’ll automatically get stability metrics for all your builds, so you know when you’re ready to ship.
App Distribution Steps:
Follow the below-given steps to easily distribute your app to your group!
- Go to the Firebase console and create a project.
- Complete the app’s firebase configuration.
- Create an android app in firebase and copy the App ID in the firebase project settings.
- Install and configure the firebase on your machine.
- Go to Release & Monitor > App Distribution > Accept the Terms of services and click
Get Started. - Go to
Testers & Groupsand add a new group calledtesters. - Click the New link under Invite links, choose the testing group, and then click Create link. A fresh public link will be created to invite other testers.
- We will implement wzieba/Firebase-Distribution-Github-Action@v1 and supply the following GH secrets to publish the APK to the Firebase distribution app.
- Generate the firebase token — https://firebase.google.com/docs/cli#cli-ci-systems and copy the token.
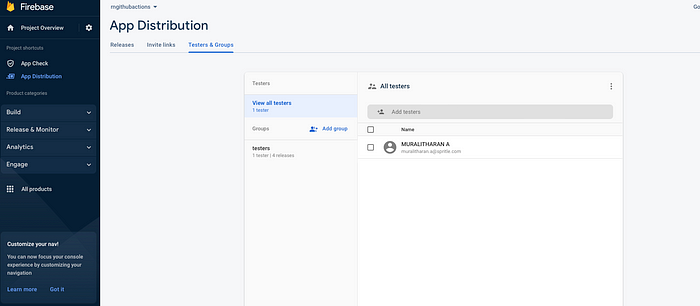
Add secrets for Firebase configuration.
- ANDROID_FIREBASE_APP_ID — Create a secret for the App ID.
- ANDROID_FIREBASE_TOKEN — Set the firebase token in this secret.
Run the application locally on your computer, and if it runs correctly, commit and push the code. It’s done!

GitHub captures the Push event, after which the script begins to execute. GitHub actions will take care of everything else 🚀.
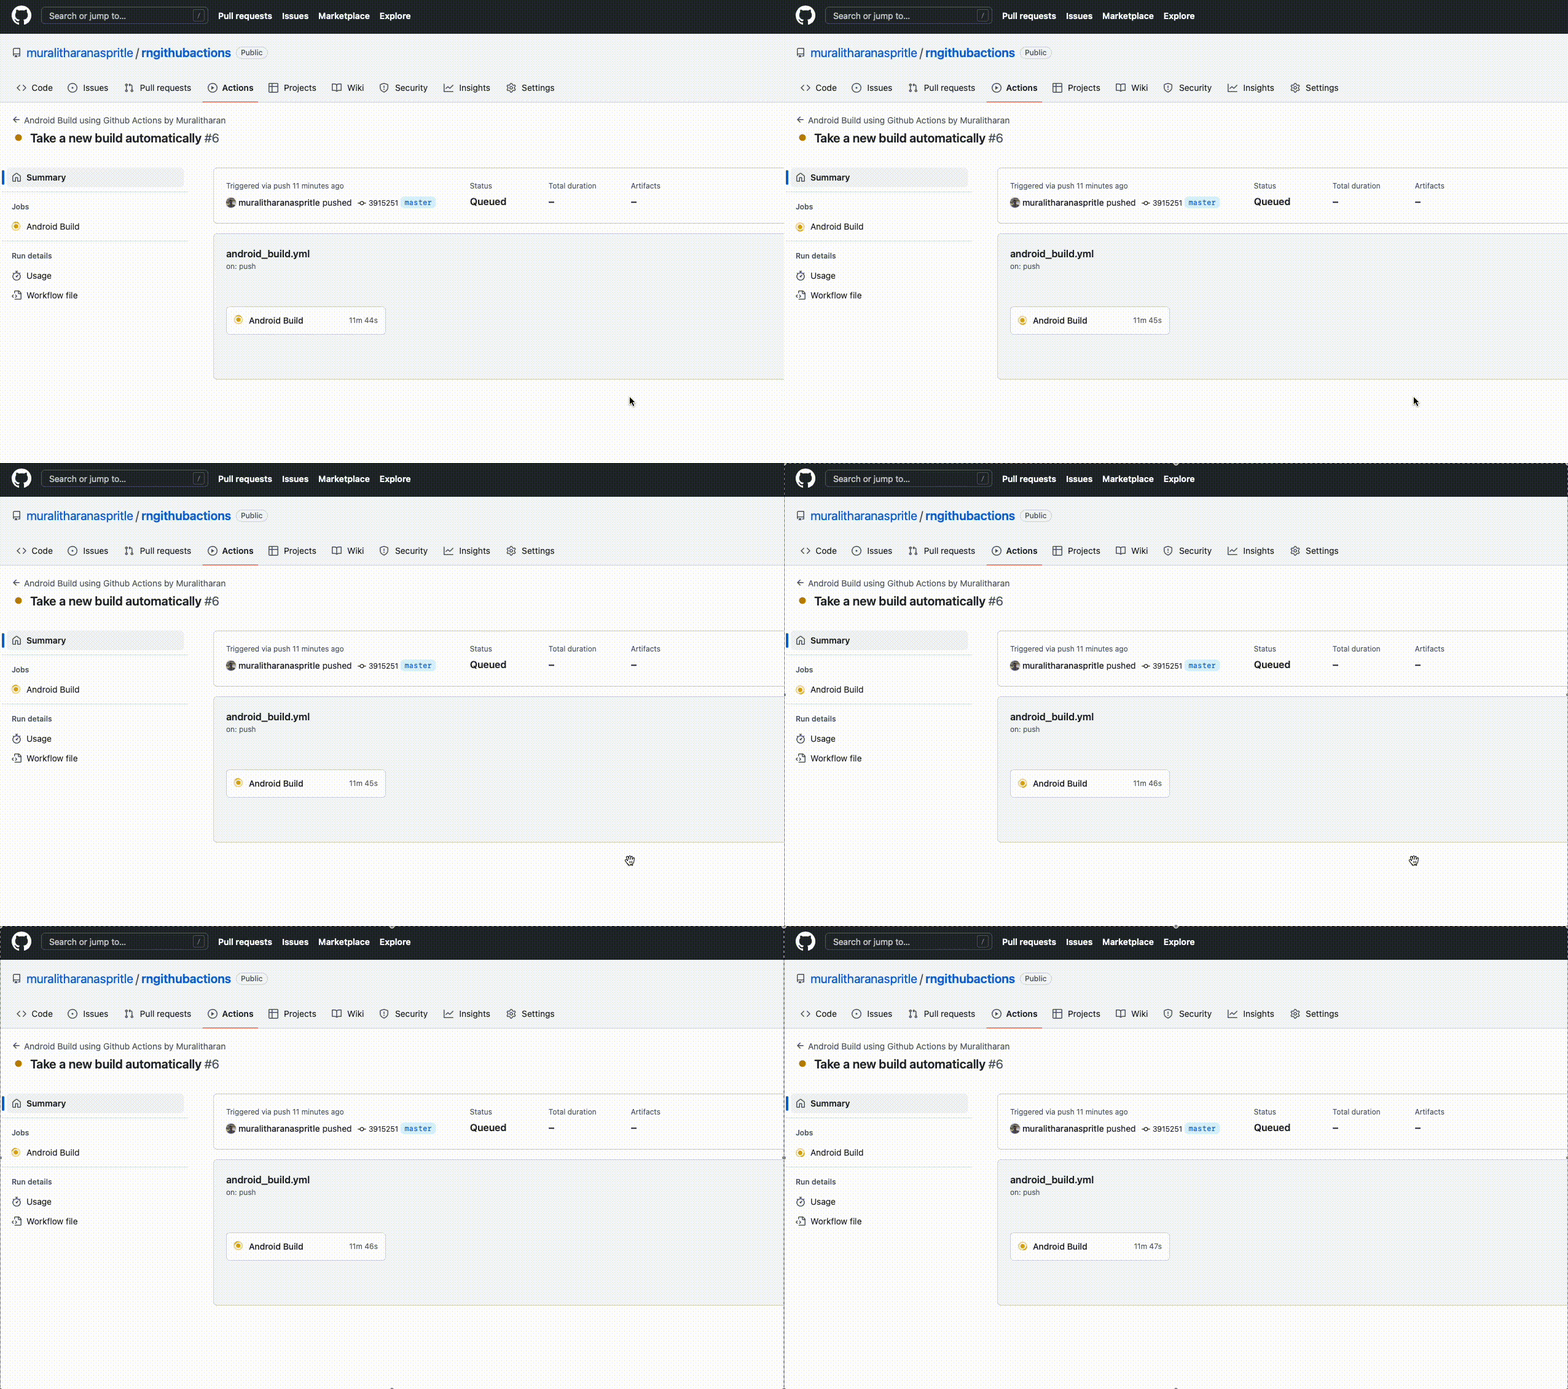
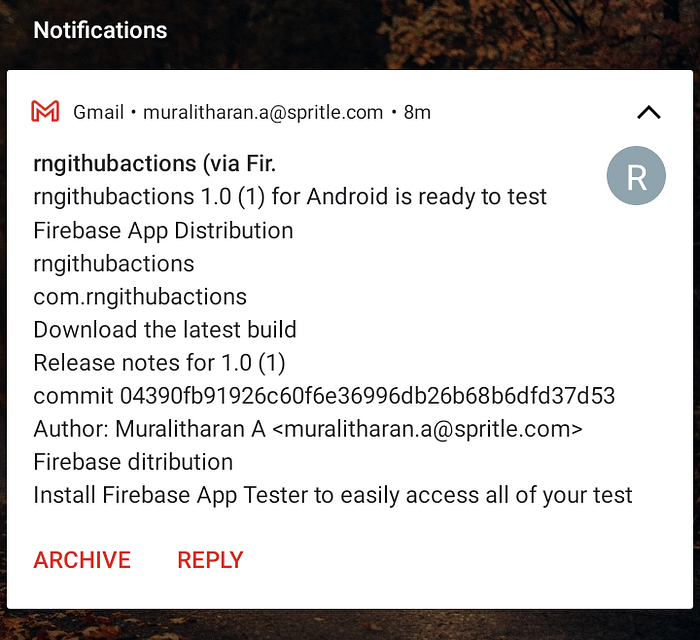
Everything is done via GitHub activities, thus there is no longer a need for manual app distribution every time. The tester will receive your app in the email. Now the testers will test the build on their testing devices.
Summary
Automating the deployment of mobile apps is the main objective due to its many advantages. Produce a quicker, higher-quality output by following best practices. Additionally, it has quicker release cycles.
The top CI CD tools & platforms for mobile applications
- JENKINS is an open-source automation server. It helps automate the parts of software development related to building, testing & deploying, facilitating continuous integration, and continuous delivery.
- GitLab CI/CD service is a part of GitLab that build and test the software whenever the developer pushes code to the application. GitLab CD (Continuous Deployment) is a software service that places the changes of every code in the production which results in everyday deployment of production.
- FastLane can be simply described as the easiest way to automate building and releasing your iOS and Android apps.
Hope the blog would have given the information you are looking out for. This blog series will continue with a more in-depth explanation of Mobile DevOps and much more.
Thank you, and let us meet again in the next blog shortly!

The github action this article used could be slow. Try this one instead!
https://github.com/marketplace/actions/distribute-to-firebase-app-distribution